

I have been thinking about getting an Instant Pot for quite some time. It is a truly amazing invention that combines the merits of a pressure cooker, electric cooker, slow cooker along with an onboard processor/ computer! Finally I gifted myself an Instant Pot and made my first ever dish in it last Sunday (Vegetable Biryani!!!) and I would like to share my experience with it.
I was cooking for a party, and I took some shortcuts and should admit I did not utilize the Instant Pot’s full potential. For example, I sautéed a big batch of onion/ tomato base that I used for making the biryani and other dishes, so skipped the “Sauté” mode and directly used the manual pressure cooker mode to make the biryani.
I hope to make more recipes using my Instant Pot and will be posting here soon.

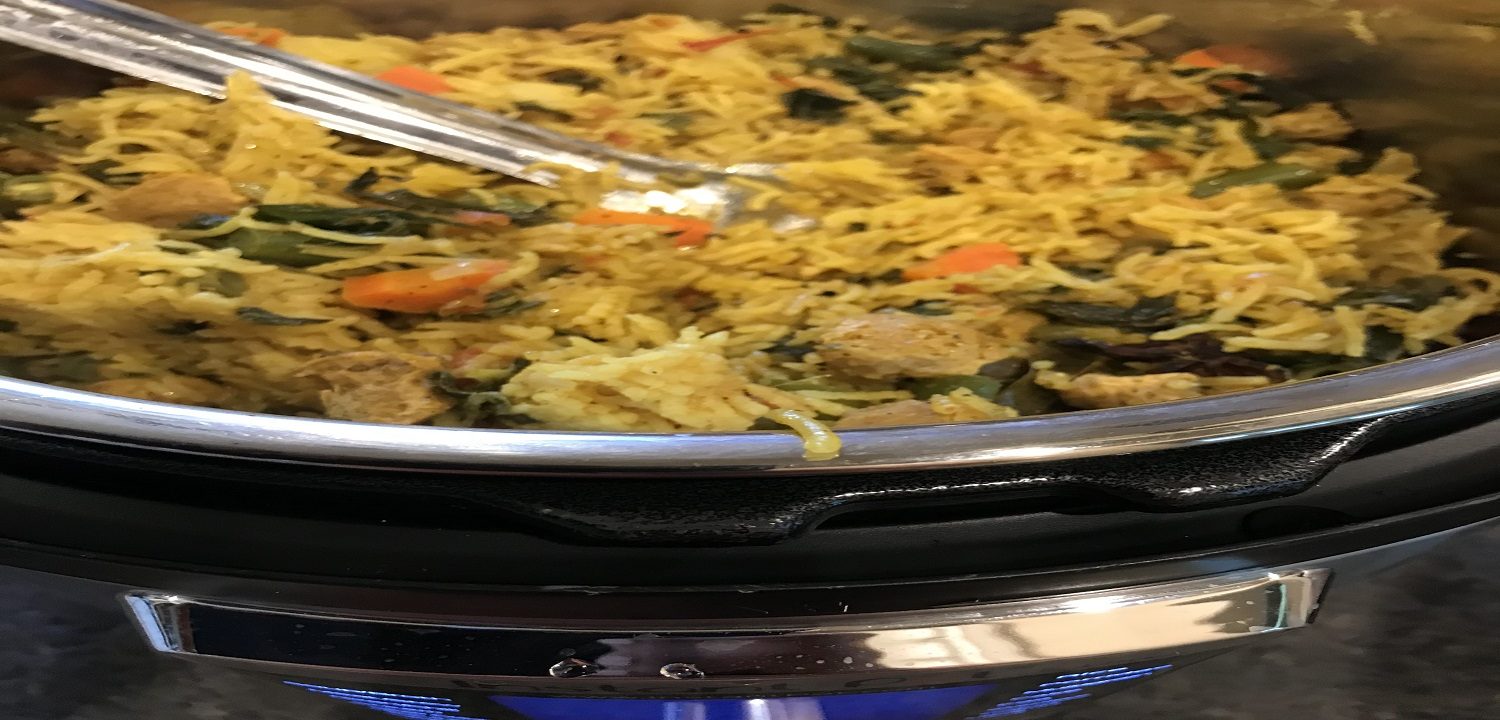
Instant Pot Vegetable Biryani
Quick and easy Vegetable Biryani using Instant Pot
Ingredients
- 3 cups Basmati Rice Soak for 20 mins
Biryani Seasoning
- 4 tbsp Ghee
- 1 inch Cinnamon stick
- 6 Cloves
- 2 Cardamom (Black)
- 3 Cardamom (Green)
- 2 Star Anise
- 2 Bay leaves
- 2 Onion sliced
- 3 Green chilies slit
- 3 tbsp Ginger/ Garlic Paste
- 1 cup Mint leaves chopped
- 1/2 cup Coriander leaves chopped, optional
Vegetables
- 2 Potatoes chopped
- 2 Carrots chopped
- 1/2 cup Green Beans cut into 1 inch pieces
- 1 cup Cauliflower small pieces
- 1/2 Green Bell Pepper small pieces
- 1/2 cup Mushroom small pieces
- 1/2 cup Lima beans fresh, frozen or soaked
- 1/2 cup Green Peas if frozen, add at the end
- 1/2 cup Soya chunks soak and squeeze out water
Other Ingredients
- 1 tbsp Chili powder
- 1/2 tbsp Coriander powder
- 1 tsp Turmeric powder
- 1/4 tbsp Black pepper powder
- 1/4 tbsp Jeera powder
- 4 tbsp Yogurt
- Salt to taste
- 1 tbsp Lime juice
Instructions
-
Wash and soak basmati rice for about 20 mins with 1.5 times water.
-
Click the “Saute” mode in Instant Pot and pour ghee, and when is hot, do the whole garam masala tadka.
-
Add sliced onions, fry them till golden brown, add green chilies and ginger/ garlic paste and fry till raw smell is gone from the paste.
-
Add chopped mint (and coriander leaves if preferred) and fry for some time.
-
Add chopped tomatoes and fry till tomato is fully cooked and mashed.
-
Add vegetables of your choice – potato, carrots, green beans, cauliflower, bell peppers, mushrooms, soya chunks, lima beans, etc. If you are using frozen green peas, reserve them to add at the end.
-
Add chili powder, coriander powder, turmeric powder, black pepper/ jeera powders, sour curd, salt to taste and fry for few mins.
-
Now add the rice (with 1.5 times water), mix well and check/ adjust salt level.
-
Close the Instant Pot lid and ensure the pressure release seal is in closed position (for older models). Select the “Pressure Cooker” mode and set cooking time to 6 mins. The pressure will build up and the biryani will get cooked in 6 mins and then the pressure will release naturally in about 15 to 20 mins (dum stage).
-
You can then open and add some sautéed frozen green peas (I generally add the frozen green peas at the end so it does not get overcooked), more chopped mint/ coriander leaves, some more ghee, 1 tablespoon lime juice and give a gentle stir.
-
Biryani is ready to be enjoyed!
Recipe Notes
- “Burnt” error message came up on the display some 10 mins before the end of the overall cooking time. Just to be sure (because I was cooking for a party!), I manually released the pressure and switched off the Instant Pot). I noticed some slight browning of the biryani at the bottom like I get whenever I cook in a regular pressure cooker or in a dum pot. My son and I like to eat the browned bottom portion of the biryani. I am reading online on how best to handle this “Burnt” error message and got some tips. I will experiment those steps and will share with you later.
- Some people get upset when biryani gets browned a bit at the bottom. Do you know elsewhere (in Middle Eastern cuisine), the browned, crusty bottom portion of cooked rice is considered a delicacy? It is called Tahdig and is even listed as a special item on the menu sometimes, or served to the most preferred guests!!!
- You can make some tweaks to this recipe by adding biryani masala powder (homemade or store bought) instead of whole garam masala.
- You can also add some coconut milk.
- You can cook this biryani in oil instead of ghee (or use half ghee/ half oil.


 Hello, my name is Senthil. I am a passionate food blogger from Houston, Texas. This is my online kitchen, and I will be cooking delicious recipes for you, provide kitchen tips that I have learned over the years, and share personal stories and fond memories around food. Keep checking out for new stuff!


Great recipe, Senthil! I’m going to try this in my instant pot on July 4th holiday!
Thanks Alan! Please let us know how it turned out…!!!